WarmFörm In (On) the Ground in WA
On the fourth of July holiday weekend I followed our WarmFörm order out to the construction site in Eastern Washington State to witness, advise, and photograph the installation.
Right now we are spending a non-trivial amount of time making sure our customers understand the configuration of their WarmFörm installation, and laying the ground work for successful installations. At the same time we are writing “The Book” on WarmFörm – the design manual and install instructions which will eventually replace all our hands-on insights.
Being a consultant type, normally I would fall on the side of personal consult trumps instruction booklets every time. But for WarmFörm its not so. The system is so simple, so straight forward, that a good description, a couple of examples, any competent builder will be able to quickly install a WarmFörm foundation. That was put to the test in Washington and proved so in spades.
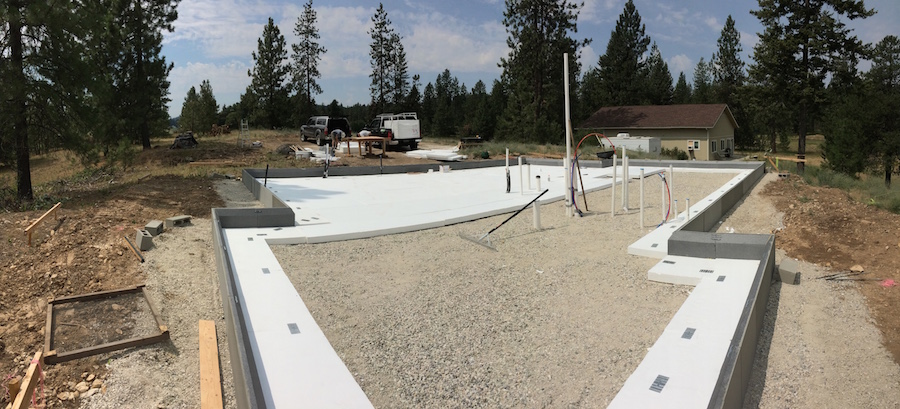
The installation was done by the Owner Chuck, with some help from his son Ben, but the team was lead by the Owner’s brother Pete, a full-time home builder who was eager to work with WarmFörm. Pete took the bull by the horns, and applied his own experience with laying out and squaring foundations to leading the install of the WarmFörm. Final leveling and layout of the Edge Elements took the first day. Second day the first center layer of foam was laid, penetrations sealed, and the vapor/radon barrier installed. I headed home then, but the second and third layers of foam were completed on the third day. At that point the WarmFörm was ready for reinforcing and concrete. Remember, after that its done – no forms to strip, no slab edge to insulate and finish.
What is notable here is a three day install with a two man crew working with WarmFörm for the first time. Half a day of that three was spent on prepping the stone base, which with experience could have been completed in advance to the tolerances needed, preferably by the sub-contractor that laid the stone. We also spent a good half day squaring the forms as the layout strings got away from us during the layout. The strings were too low and interfered with the layout. Squared strings at the proper height would have avoided this and saved much of the effort here. So my observation is that with experience and foresight on the preparation this could have easily been done in two days.
Here in lies the promise of WarmFörm. Fast installs of a system that yields a superior product. A highly insulated slab on grade that does not require excavation below frost. The take away for future first-timers reading here: Level stone prep is your biggest goal and will pay off when you layout. And squared strings set at the top of the forms so you can layout square from the start is also a huge timesaver.
More photos of this install can be viewed on this flick albu
 856 662 4909
Follow Us!